
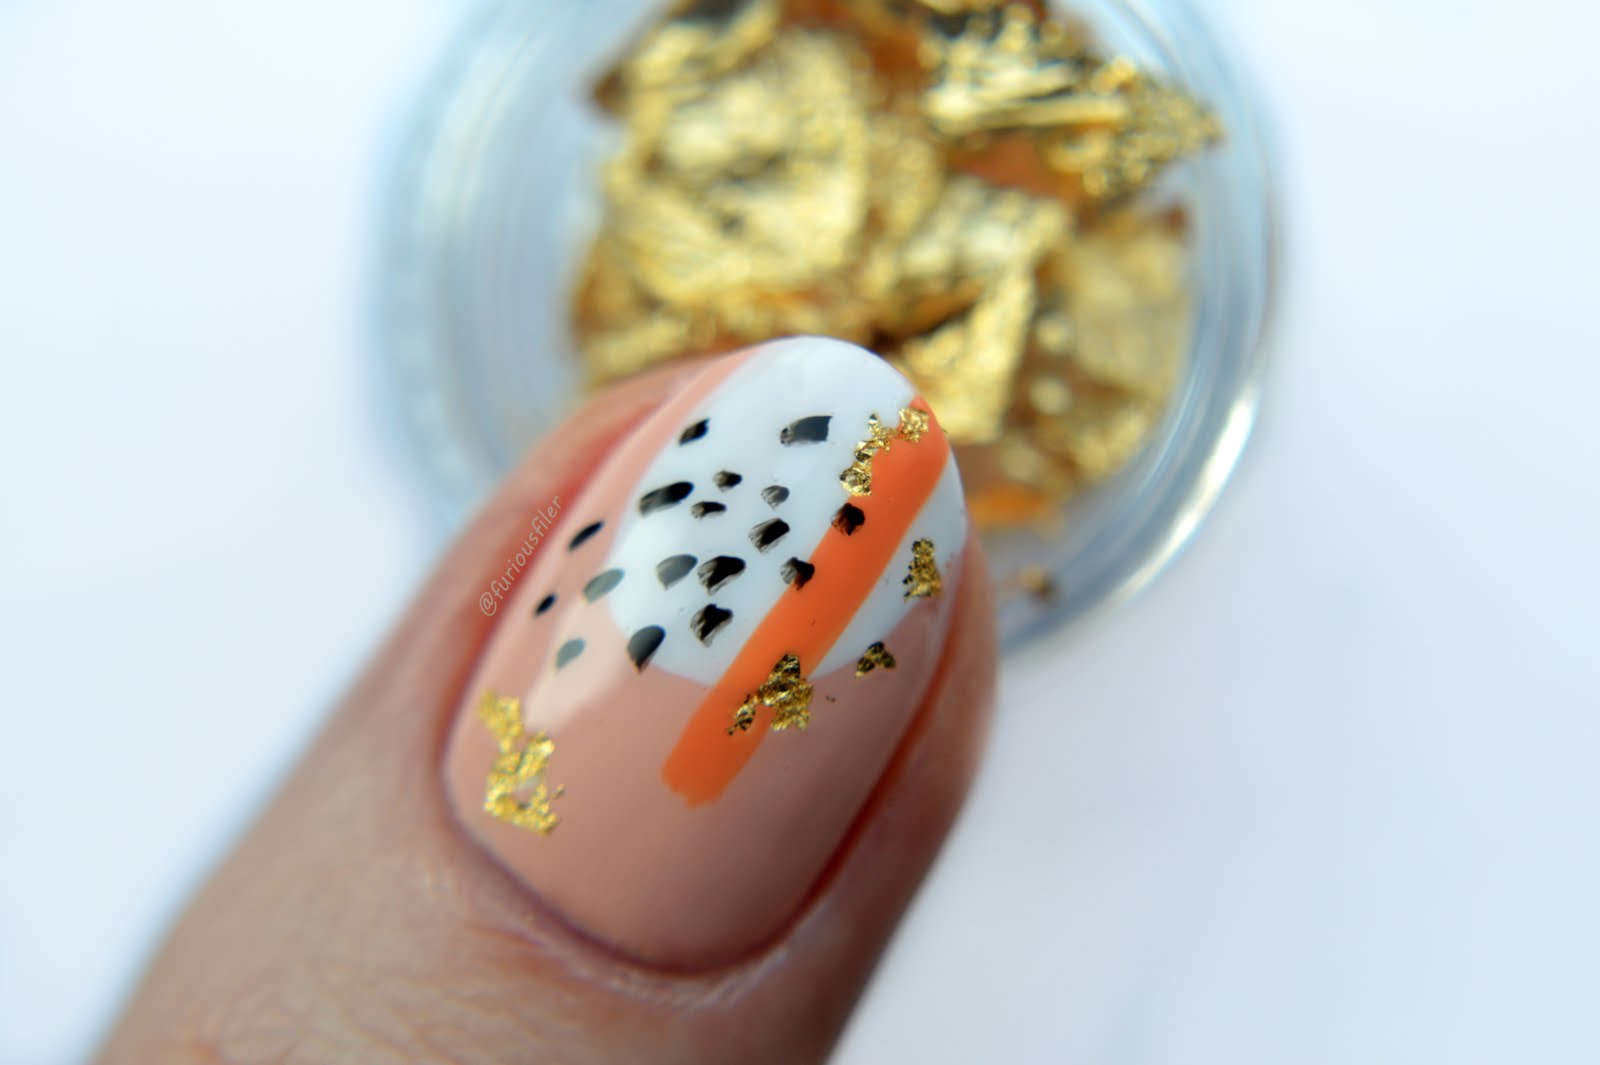


First I painted my nails white and applied a liquid tape* from bornprettystore.com. I think a product that protects the skin around your nails from polish is a seriously genius idea. It can be used for gradients, stamping or even to just paint your nails if you're not too experienced but want a neat, finished look. The possibilities are endless! I don't have much experience with this kind of product but I had a play with it and I think I got the hang of it!

This product comes in a nail polish bottle with a brush for easy application. The product itself is white and a bit thick. I applied it in 2 strokes, starting at the top of the nail (1 A) and following the cuticle on both sides on the nail (1 B). Sometimes when you start at the top of the nail, by the time you get to the end there isn't enough product so I just top it up. I find that if you apply a lot in general it makes it easier to remove. So you apply it and you can start dabbing and stamping, yes? Wrong! I did that and trust me, the mess is unbelievable! This stuff needs to dry. You know when it's dry because it becomes clear. You can just see it in the picture below. I was faffing about with the camera for too long and it started going clear.

Once it's dry you can start on your design and once you're ready just remove the liquid tape*. I like to start from the top and pull it downwards quickly (4). That's it! A bit tricky if you're new to this but once you use it a few times it's so easy! If you've used this type of product before I'm sure you'll have no problem with it. It took me a few goes to work it out but now that I have, gradients seem a bit more appealing all of a sudden!
TIP: if you push the edges off just a bit before you do your design it'll make it easier to see and pull the product off afterwards (3).
Right, onto the nail art! First I painted my nails white. Then I mixed a few blobs of Barry M Cotton and Chai with a dotting tool and picked it up with a stamper. It spread the polish and created a marbled effect. All that's left to do is apply it to your nails! You can't really do it like you would with a normal stamp because there is a lot of polish on the stamper and it's wet. This means that the stamper slips quite often and makes the design a bit harsh looking rather than blended. I decided to repeat the process and voila, that's some nice looking marble nails! I added the border with a striping brush using Models Own Chrome Rose.

This post is way longer that I intended, sorry! If you'd like to see another marble design check out this post. If you'd like to try the liquid tape*, you can find it here. Don't forget you can use my code SXL91 for 10 % OFF at checkout!
Thanks for reading until the end of this long post! x


No comments